Author Archives: joseph.raimondo@uct.ac.za

IBRO-UCT African Advanced School on Epilepsy 2015

IBRO_UCT_Group-709x267In December 2015 we helped host the IBRO-UCT African Advanced School on Epilepsy. This was the first school hosted by the new IBRO Centre for Advanced Neuroscience Schools at the University of Cape Town. The Raimondo Lab was responsible for organising and hosting the basic neuroscience component of the school.

ibrouct_06

The first day of the basic neuroscience component included introductory lectures to the principles of neurophysiology which established the conceptual grounding for much of the advanced material presented in the remainder of the course. Topics included the basis of membrane potential, action potentials, the intrinsic properties of neurons and neurotransmission. This was followed by a hands on workshop where students were taught the NEURON simulation environment. This allowed them consolidate the material learnt earlier in the day and also be introduced to the premier technology and programming environment for creating neural simulations. Each student generated their own complex morphological simulation of a single neuron. The day was ended with some entertainment by one of South Africa’s premier slight of hand artists and illusionists – Stuart Lightbody.

On the second day students received a lecture on advanced brain imaging, which was followed by a practical session where they prepared brain slices for immunohistochemistry. In the afternoon, students were introduced to electronics and soldering. In groups of 2 they spent the afternoon building their own bioamplifiers (Backyard Brains Spikerboxes). This was a challenging task as electronics was unfamiliar to many of the students. This was an empowering exercise however as after 3 hours of burnt fingers and many destroyed components we had atleast 7 working amplifiers!

ibrouct_021-1024x604

Soldering up a bioamplifier (SpikerBox).

The following day students received a world-class introduction to advanced topics in the basic neuroscience of epilepsy delivered by Andrew Trevelyan of Newcastle University. They continued their immunohistochemistry practical by staining their brain slices. The afternoon was spent using the amplifiers built the previous day to record action potentials from the cockroach leg preparation. Students learned the concepts and techniques necessary to make extracellular recordings from neurons.  Students worked in groups of two, where they had access to their own amplifier, laptop computer recording station. They used this experiment to explore rate coding in sensory systems. As a fun addition, students performed microstimulation of their cockroach legs using pop music.

ibrouct_03-1024x593

Recording cockroach leg action potentials using the SpikerBox.

The following three days saw students receiving two lectures in the morning followed by a daily rotation through one of three advanced practical sessions. The lecture topics included the anatomy of brain circuitry, models of seizure activity, network mechanisms in seizures, infectious causes of epilepsy, drosophila in the laboratory and ion dynamics in seizures. The practical sessions included hands on experience: 1) patch-clamping single neurons and making intracellular recordings during epileptiform activity. 2) performing interface chamber experiments to record field potentials during in vitro seizures. 3) performing confocal imaging of the immunohistochemistry tissue prepared during earlier days of the school.

ibrouct_05-1024x513

Preparing for whole-cell patch clamp recordings.

The students engaged well especially since many of the techniques and concepts were unfamiliar. Although it is unlikely that students would have become experts in any of the techniques learned during the school (the duration was too short for this) they now know what is possible and how these techniques can be asked to answer important questions in epilepsy research.

ibrouct_04-1024x649

A working SpikerBox!

UK-SA Royal Society NRF Neuroscience Seminar March 2015

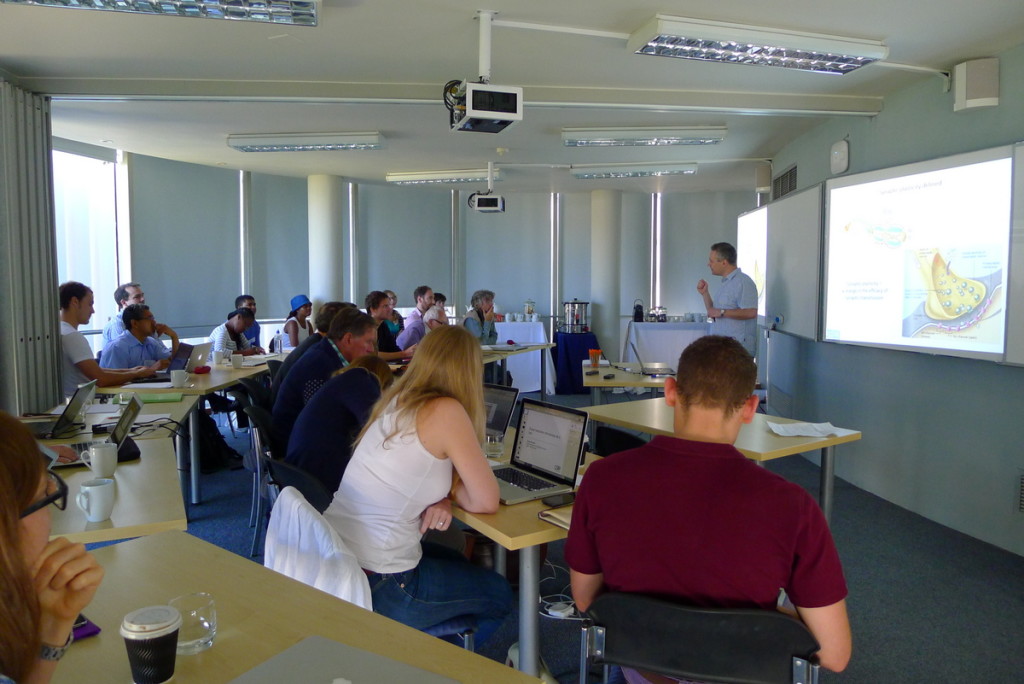
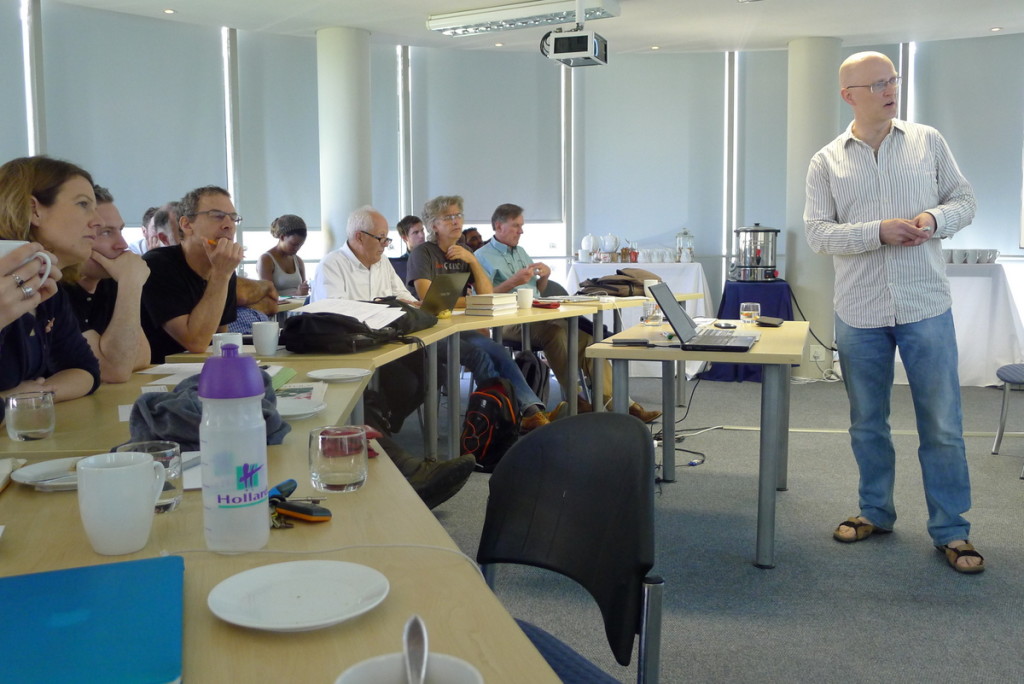
In March 2015 together with Tim Vogels from the CNCB at Oxford University we hosted a 3 day multi-disciplinary neuroscience seminar at the University of Cape Town entitled:  Neural Network Dynamics in Health and Disease.

UK-SA Royal Society NRF Neuroscience Seminar

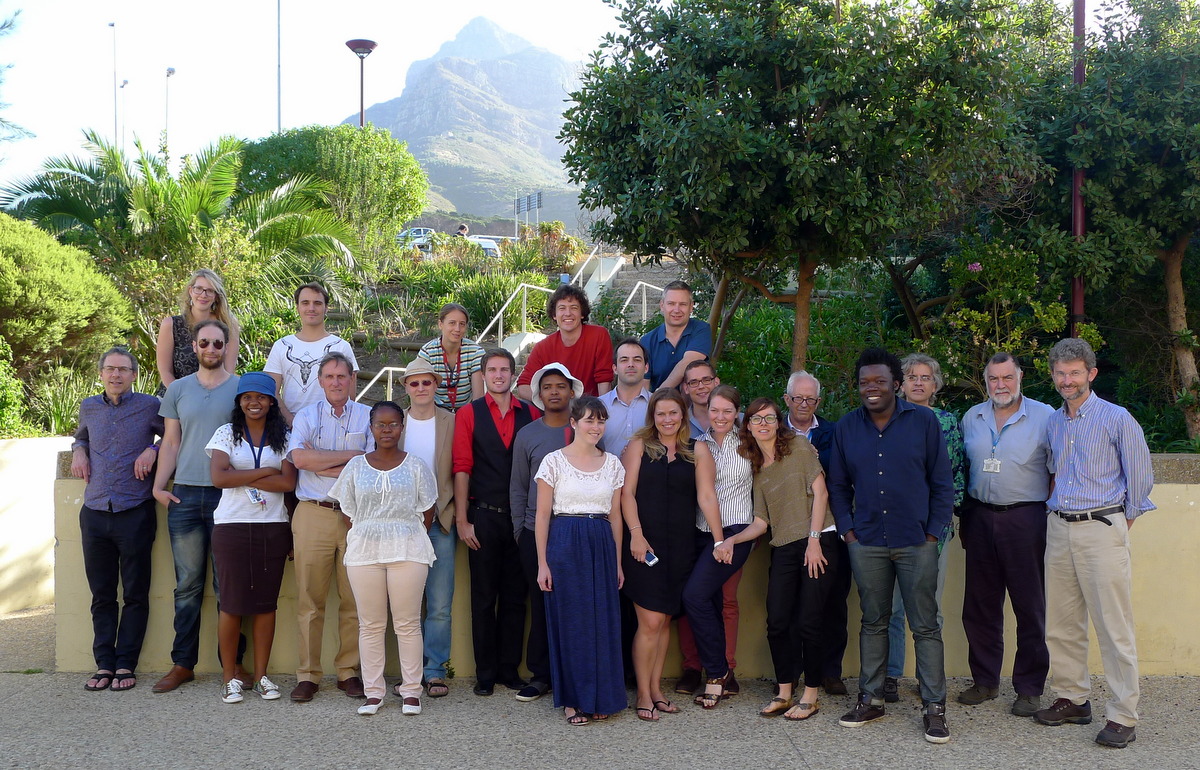
Participants of the UK-SA Royal Society NRF Neuroscience Seminar. From left to right: Peter Latham, Hayley Tomes, Jonathan Shock, Phuti Choshi, Alex Antrobus, Robert Millar, Khanyisile Kgoadi, Andy Trevelyan, Lizelle Niit, Chris Currin, Buchule Mbobo, Joseph Raimondo, Kira Dusterwald, Tim Vogels, Janine Scholefield, Colin Akerman, Richard Burman, Robyn Brackin, Anca Savulescu, George Ellis, Musa Mhlanga, Henri Laurie, Laurie Kellaway, Graham Fieggen

The main objective of the meeting was to bring together a series of neuroscientists from the UK and South Africa that are all interested in understanding neural network dynamics, but approach the problem from different levels of analysis – from a cellular, a synaptic or a computational perspective.  We sought to  encourage discussions that could span multiple modes of analysis. We aimed to provide a space which would help forge collaborative links between neuroscientists in the United Kingdom and their counterparts in South Africa. Lastly, we aimed to raise the profile of neuroscience in South Africa and the UK by increasing the capacity to perform research of both local and global relevance.

P1060562

Colin Akerman: New insights into activity-dependent synaptic circuit development
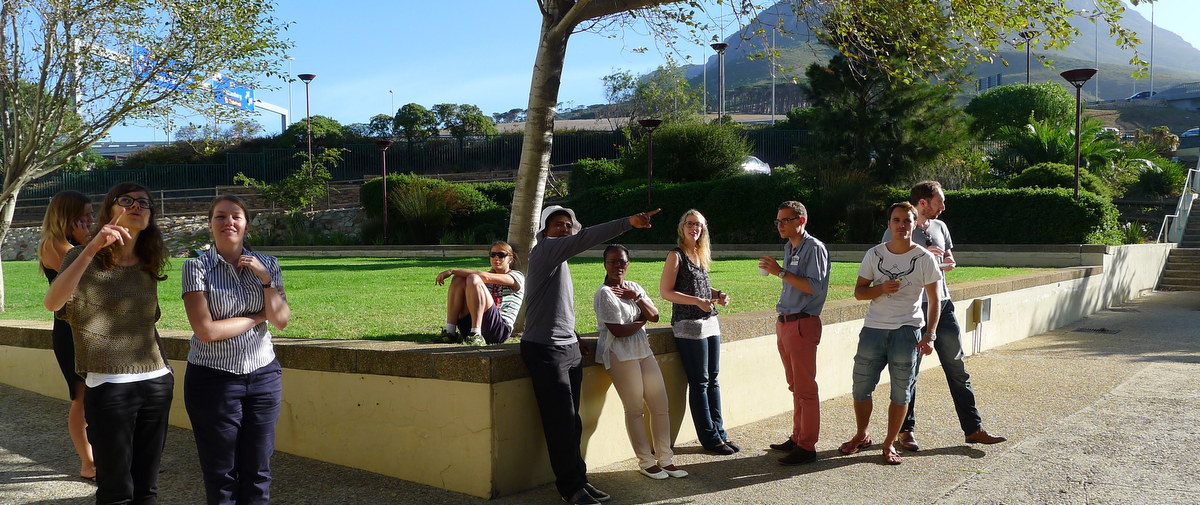
P1060568

Enjoying a break.

P1060576

Andrew Trevelyan: Making sense of seizures: translating basic research into clinical practice

P1060591

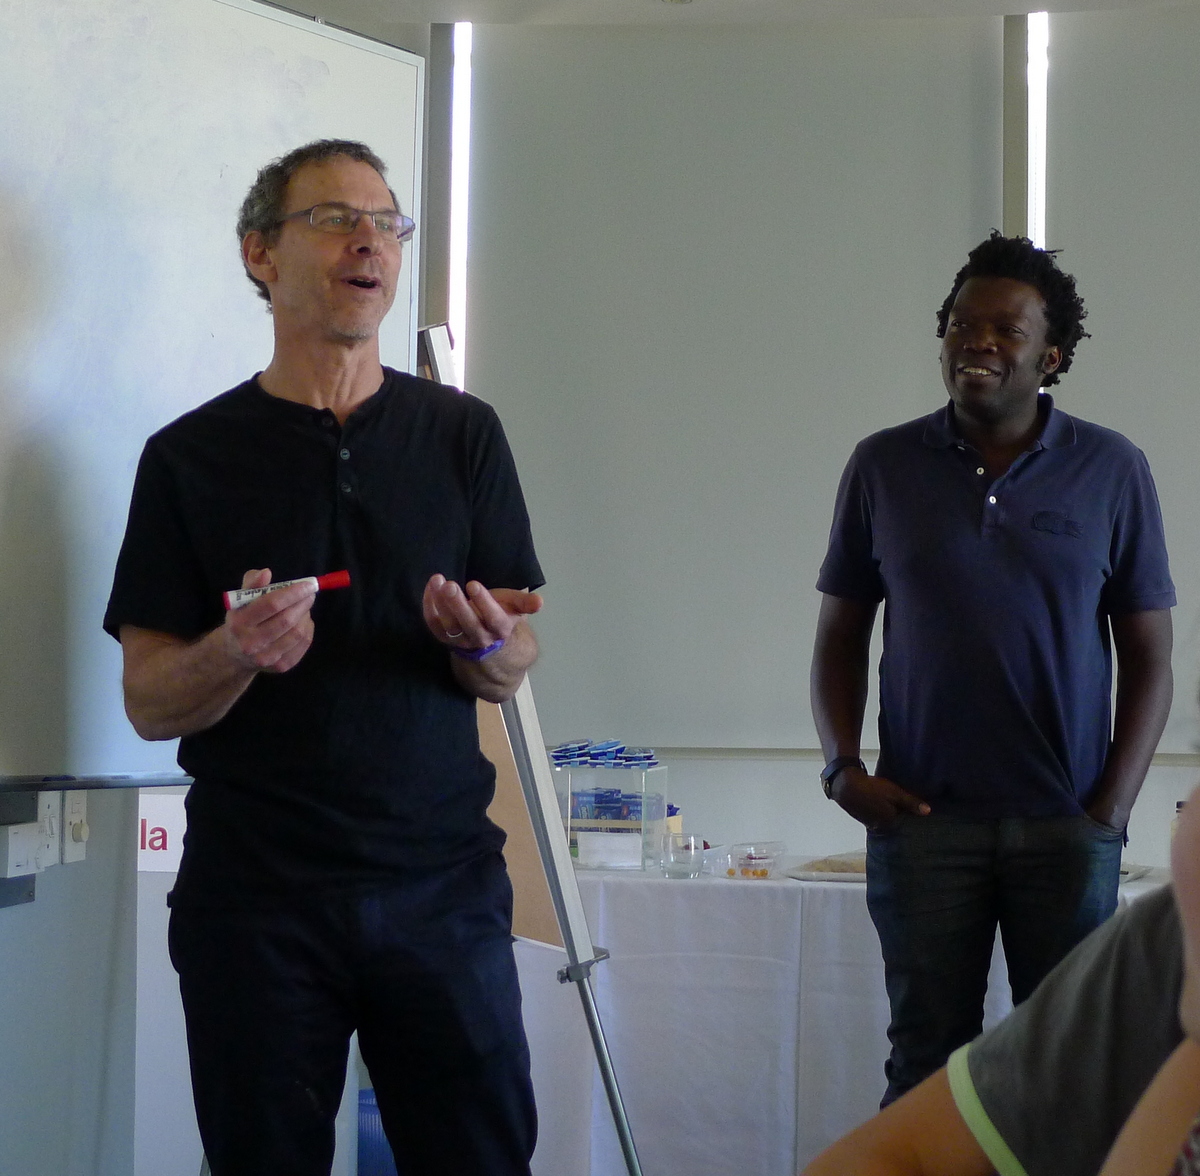
Peter Latham and Musa Mhlanga discussing big, ‘out there’ ideas in neuroscience.

P1060553

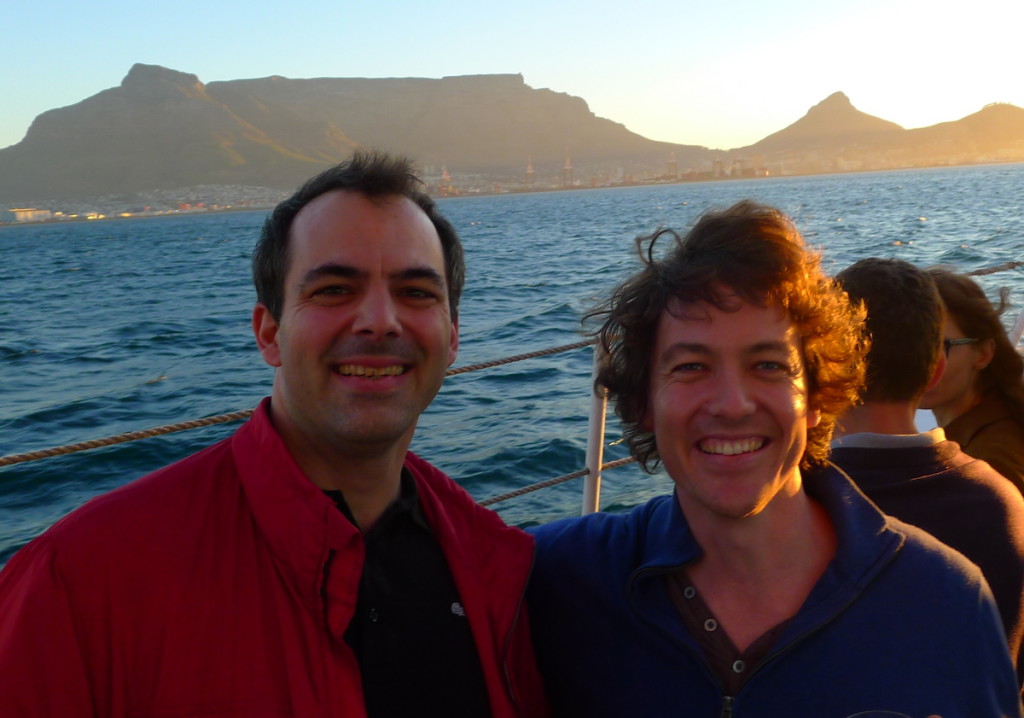
The organisers: Tim and Joe sunset cruising…


Example feedback from the meeting:

“I thought the meeting was a triumph – the talks were, almost without exception excellent, but the real triumph was the idea to mix up such a range of real expertise.  This created a really interesting dynamic in the speaker-audience interaction, with no question being “too stupid”.  It forced people to build up their topic up from first principles.  This is an excellent approach to doing neuroscientific, or indeed any kind of research, in my view.  I was very impressed at the diversity of the audience, and the quality of discussion was really high, and yet always respectful and pursued simply from a desire to clarify matters.  Given the complementary set of skills that the different participants brought to the table, I hope and expect that the meeting will kindle various collaborative ventures.” – Dr Andrew Trevelyan

“Thanks for organizing an amazing symposium. I was impressed with the intellectual breadth and depth of the people at uct.  It made me really excited about moving there. It was fun to interact with everyone and I enjoyed my conversations with Peter, Tim and others. Very impressive!” – Dr Musa Mhlanga

“The meeting was very useful in terms of brining together a variety of views on the brain and its relation to genetics. The high level talks highlighted important issues in a very useful way.” – Prof George Ellis

The programme:

The PuffAdder – a DIY picospritzer

Note: we have now published a description of a more sophisticated version of  PuffAdder named OpenSpritzer in a Scientific Reports. This includes descriptions of OpenSpritzer’s performance, data collected with the device and detailed build instructions. Nonetheless for some investigators the simpler PuffAdder may be easier to build, therefore we have left the build description for this device below – performance is the same.

Many laboratories require a means to deliver picolitre or nanolitre volumes. We use a picospritzer for delivering small puffs of GABA or other neurotransmitters to activate receptors on single neurons within brain slices. Commercial Picospritzers can cost roughly $3000 or in South African terms about R30 000. Inspired by a post describing a custom built Picospritzer on Labrigger, we built our very own custom made DIY picospritzer for about R4000. It’s African and decidedly less dangerous than the local snake it’s named after: the Puff Adder.

Puff_Adder_Pic

The key component is a Solenoid 3/2 way valve built by Festo, which can open or close in about 2 ms. I’ve listed all the parts below with photos of how it was all put together.  It is controlled by a TTL (5V) signal from a computer, with reliable timing and the ability to produce short puffs down to about 10 ms in duration. I hope you find this description useful.

Valve and Pressure System

Solenoid Valve, Pressure Regulator, Tubing and connectors:

puffadder-pressure_components

1- Festo Precision Pressure Regulator LRP-1/4-4 (from 0.05 to 4 bar / 0.7 to 58 psi pressure range) Part No: 159501
2- Festo Precision Gauge MAP-40-4-1/8-EN (from 0 to 4 bar / 0.7 to 58 psi pressure range) Part No: 162842
3- Solenoid Valve MHE2-M1H-3/2G-M7 (3/2 way valve) Part No: 196130
4- KMYZ-4-24-2.5-B (plug in cable for valve – not essential) Part No: 193691
5- QSL-1/4-6 Festo Push-in/threaded L-fitting (L fitting to take input from pressure line to regulator port 1, takes 6 mm tube) Part No: 153047
6- QS-1/4-4 Festo Push-in fitting (to screw into port 2 of regulator) Part No: 190644
7- 2x QSM-M7-4-I Festo Push-in fitting (to screw into ports 1 and 2 of the solenoid valve) Part No: 153319
8- B-M7 Festo Blanking plug (blanking plug to block port 3 of valve / ie block exhaust port if required) Part No: 174309 – Update I discovered it is better not to utilise a blanking plug here – ie the pressure is delivered only for the duration of the puff and is released via the exhaust valve straight after
9- 1m of 4mm OD Festo Plastic tubing Part No: 159662

Electronic Components

The Festo solenoid valve needs a 24V signal to open. Most computer controlled digiboards generate a 5V signal (TTL) to control components. As such we needed to build a small circuit which converts a 5V signal from the computer/ digiboard to a 24V signal in order to control the valve. This is done by using the 5V TTL signal to open or close the gate of a standard NPN transistor.  We used a bit of strip board and the components listed below to build the circuit. It was then shoved in a black plastic box to make it look official!

PuffAdder - Circuit

PuffAdder Circuit Board

Q1- Bipolar Transistor – BJT NPN Gen Purpose (Mouser Part No: 610-2N5088)
D1- Zener Diode 5V
D2- Zener Diode 24V
R1- 1K ohm resistor
R2- 0.82 ohm 3W resistor (could use a normal higher resistance resistor) (Mouser Part No: 667-ERX-3SJR82A)

circuit board connection

The red lines here indicate the circuit connections via the back.

Power supply and other miscellaneous electronic items
– 24V DC power supply unit, 1.04A (Mantech Part No: 30C0007)
– DC power jack socket panel mount 2.1mm (Mantech Part No: 14C2716)
– BNC male connector socket (Communica Part No: 51K506-200A4)
– Black plastic box (Communica Part No: BTA1B)
– Strip board 100x300mm (Communica Part No: EXCU21-300)
– Wiring and a soldering iron to put it all together

DC_connector_pins

We struggled to wire up the DC socket – the photo above shows what worked in the end.

After soldering the circuit board and and wiring it all up it got placed in a smart looking black plastic box.

puff_circuit_in_box

And voila! We hope your PuffAdder gives you hours of puffing joy!